以前の記事では、WindowsFormでのHelloWorldを試しました。
今回の記事では、WPFでのHelloWorldを試してみます。
WPFはWindowsFormの後発にあたるWindows向け画面アプリの形式であり、画面がXAMLというマークアップ言語で記述されていること(C#で記述されている場合に比べて見やすい)、MVVM(UIに対しては単一スレッドでしか操作できない、リストが長く画面に表示しきれない場合に表示されている分のオブジェクトしか生成されない、といったUIの制約を意識せずにビジネスロジックを書くための手法)を実現しやすいこと、が特徴となっています。
以下では、Visual Studio Communityを使用したHelloWorldの手順を紹介します。
操作感はWindowsFormと似ているので、注意する箇所だけ詳細に書きます。
XAMLの項目とクラスの値をバインドさせる(クラスの値が変更された際にXAMLの画面上に反映する)点がミソです。
【手順】
1.Visual Studio Community を開く。
2.「ファイル > スタートページ」でスタートページを表示させ、スタートページ上の「新しいプロジェクトを作成」をクリック。
3.「WPF アプリ」を選択する。名前は任意で良い。これで「OK」を押下すると、「場所」で指定した場所にプロジェクト(作業フォルダ)が生成される。
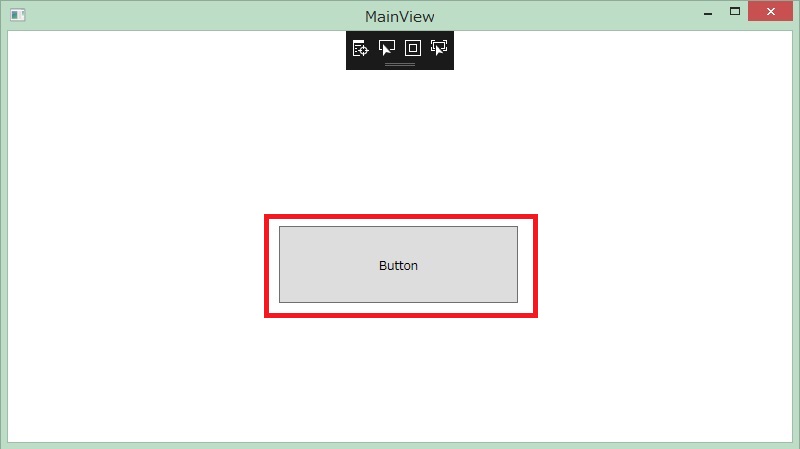
4.ボタンやラベルを配置する。すると以下のようなXAMLが生成される。
・MainWindow.xaml
<Window x:Class="HelloWorld3.MainWindow"
        xmlns="http://schemas.microsoft.com/winfx/2006/xaml/presentation"
        xmlns:x="http://schemas.microsoft.com/winfx/2006/xaml"
        xmlns:d="http://schemas.microsoft.com/expression/blend/2008"
        xmlns:mc="http://schemas.openxmlformats.org/markup-compatibility/2006"
        xmlns:local="clr-namespace:HelloWorld3"
        mc:Ignorable="d"
        Title="MainView" Height="450" Width="800">
    <Grid>
        <Button x:Name="button" Content="Button" HorizontalAlignment="Left" Height="77" Margin="271,195,0,0" VerticalAlignment="Top" Width="239" Click="button_Click"/>
        <Label x:Name="label" Content="{Binding Text.Value}" HorizontalAlignment="Left" Height="33" Margin="319,88,0,0" VerticalAlignment="Top" Width="166"/>
    </Grid>
</Window>
5.下記のクラスを作成する。
・MainWindow.xaml.cs
using System;
using System.Collections.Generic;
using System.Linq;
using System.Text;
using System.Threading.Tasks;
using System.Windows;
using System.Windows.Controls;
using System.Windows.Data;
using System.Windows.Documents;
using System.Windows.Input;
using System.Windows.Media;
using System.Windows.Media.Imaging;
using System.Windows.Navigation;
using System.Windows.Shapes;

namespace HelloWorld3
{
    /// <summary>
    /// MainWindow.xaml の相互作用ロジック
    /// Viewに相当
    /// </summary>
    public partial class MainWindow : Window
    {
        MainViewModel viewModel = new MainViewModel();

        public MainWindow()
        {
            InitializeComponent();
        }

        private void button_Click(object sender, RoutedEventArgs e)
        {
            // DataContextにMainViewModelオブジェクトををバインドさせる
            // そうすることで、{Binding Text.Value}で値を反映できる
            // DataContextは参照渡しできないのでreturnで受け取る
            DataContext = viewModel.TextRead(DataContext);
        }
    }
}
・MainViewModel.cs
using System;
using System.Collections.Generic;
using System.Linq;
using System.Text;
using System.Threading.Tasks;
using Reactive.Bindings; // 自分で落としてくる必要がある

namespace HelloWorld3
{
    /// <summary>
    /// ViewModelに相当
    /// ModelとViewの間に入ることで、ModelがUIの制約を受けるのを防ぐ
    /// </summary>
    class MainViewModel
    {
        MainModel model = new MainModel();

        public ReactiveProperty<string> Text { get; private set; }

        public object TextRead(object dataContext)
        {
            this.Text = model.Text;
            dataContext = this;
            return dataContext;
        }
    }
}
・MainModel.cs
using System;
using System.Collections.Generic;
using System.Linq;
using System.Text;
using System.Threading.Tasks;
using Reactive.Bindings; // 自分で落としてくる必要がある

namespace HelloWorld3
{
    /// <summary>
    /// Modelに相当
    /// ビジネスロジックを記述する。
    /// </summary>
    class MainModel
    {
        public ReactiveProperty<string> Text { get; private set; }
                = new ReactiveProperty<string>();

        public MainModel()
        {
            Text.Value = "Hello World!";
        }
    }
}
※補足
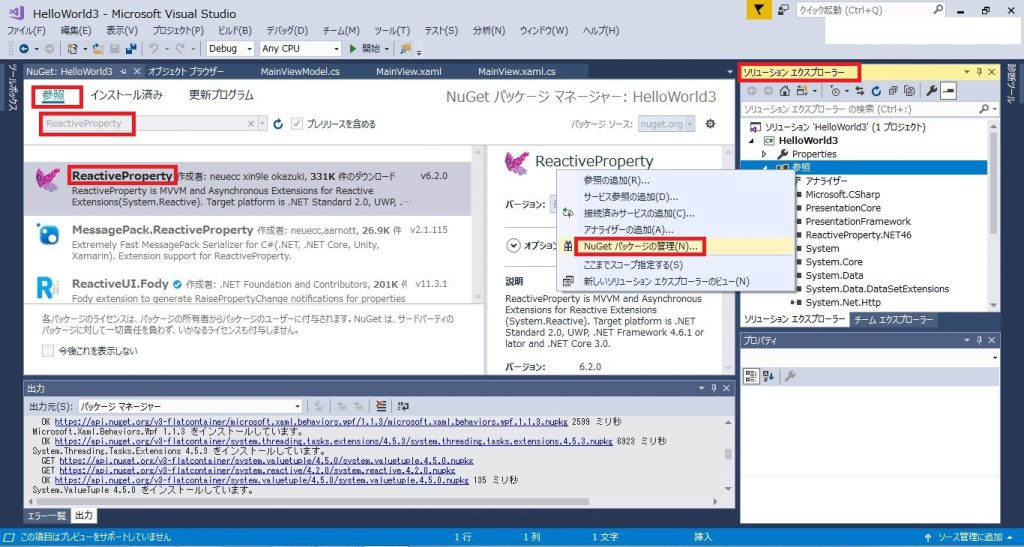
バインドさせる際には、「ReactiveProperty」を使用すると便利です。
自分で「NuGet パッケージの管理」から落とす必要があります。

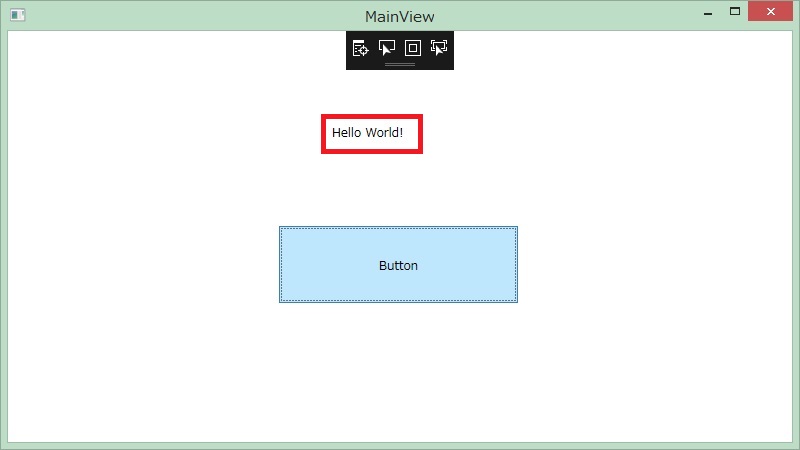
【実行結果】
ボタン押下で「Hello World!」が表示されます。


いかがでしたでしょうか?
C#の画面アプリと言えばWindows Formという感じがしますが、今から始めるなら機能面で強化されているWPFの方が良いかもしれません。
昔は日本語の文献が少なく導入に苦労するという話もありましたが、現在は文献も充実しており、ネット上でも参考になる文献を見ることができます。
次回も、C#の便利な文法を紹介していきたいと思います!


コメント